
Timesaver Tip: Moves Management, Part 1
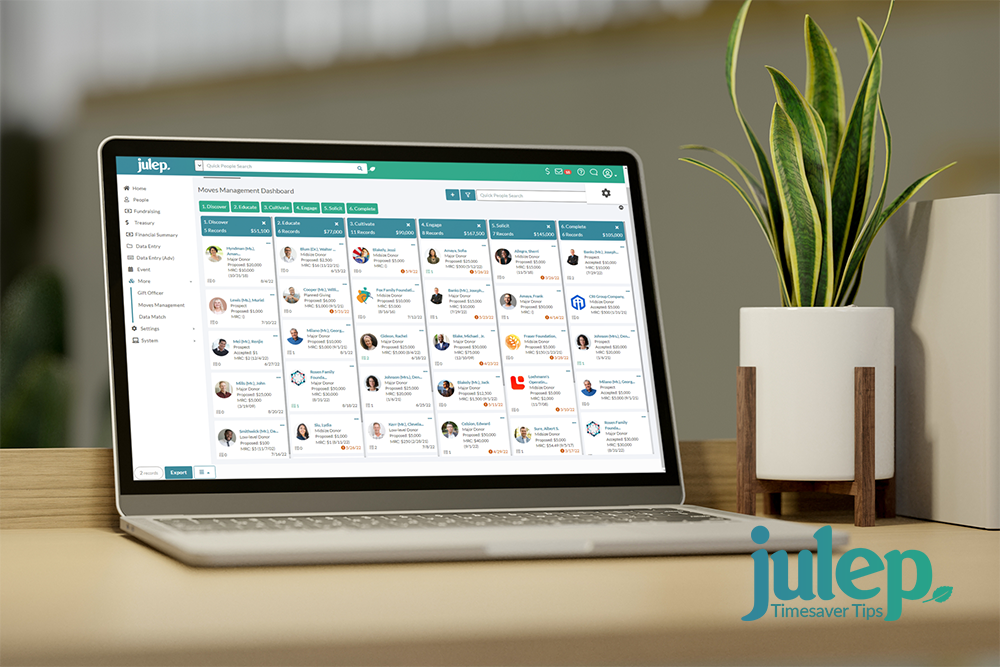
Tracking your major gift program can be a challenge. With multiple donors at different points in the giving cycle, it’s easy to forget to follow-up or not meet deadlines. Julep solves those issues for fundraising and development teams with our Moves Management tracker. This dashboard visually organizes the process of moving prospective donors through the major giving process. Starting with discovery and cultivation through the completed donation, Moves Management helps organizations keep track of how they are reaching these prospects.
Moves Management utilizes familiar features, such as Tasks and Notes. It also incorporates an interactive dashboard that tracks communications, upcoming deadlines, and recent contributions associated with donors or prospects. Once you assign a Move to a People Record, you can move the donor/prospect between life cycle stages, such as Discovery to Completion, with a simple drag-and-drop of your mouse.
Below is Part 1, which covers the features and navigation of Moves Management. Part 2 covers how to use each feature.
Part 1: How to Navigate the Moves Management Dashboard
The Moves Management dashboard can be accessed by clicking on the More section of Julep’s menu. The feature has two views, the Dashboard View and the List View.

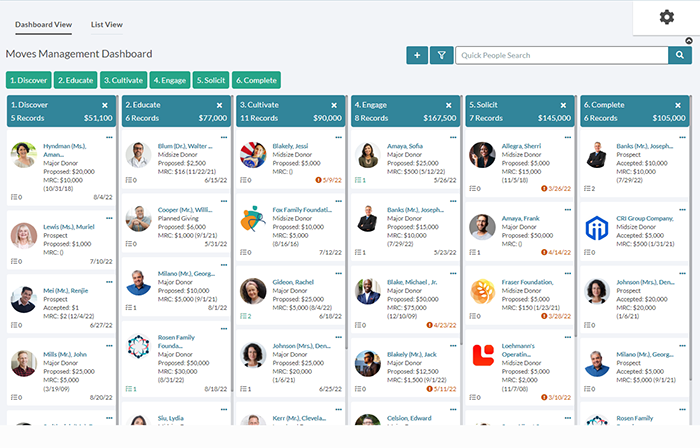
Dashboard View: Provides a visual layout of every People Record in your Moves Management cycle. Each card provides summary details, such as Tasks assigned for follow-up or past due moves. You can quickly drag-and-drop Moves from one stage to another to note changes and updates as they occur.
List View: Organize all the Moves data in a list format, which also includes a summarized view to help you make quick updates to each donor.

How to use the Dashboard View of Moves Management
1. The Dashboard view shows the People Records and their Moves laid out in columns based on the lifecycle Stages established in People Settings.
Moves Management Header

1. Toggle between the List and Dashboard view.
2. Click on the green buttons at the top to select which stages you want to display or click on the X in the blue boxes to remove them.
3. Click the plus sign button to add a new Move (See Part 2 for additional directions).

4. Click the funnel button to view the full Moves Search filter options available. These enable the user to filter through the current list based on a variety of factors.

5. Quick Search, located in the upper right side of the screen, allows you to quickly find a People Record in the cycle by Name or PID.
6. Click the gear button to edit the names and stages of the Moves stages.

Moves Management Columns

1. Each blue header identifies the stage each record is currently in, the total prospective donations and the number of moves in that stage.
2. Click on each Panel Box to drag-and-drop it into new columns and quickly change the Move’s stage.

Name – Click the donor’s name to view the full moves details, tasks, and notes, by stage.
Proposed/Accepted Amount – The second line displays the proposed Ask or Accepted amount if one exists.
MRC – View the most recent gift amount and date.
Date – The date in the bottom right shows the expected Move completion date.
This icon shows the number of tasks due for this move.

This icon indicates that the Move is past it’s expected completion date and needs attention.

Hover over this button in the top right corner to gain access to additional actions.

Moves Management Cards
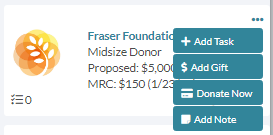
1. Add a Task – Add a task to the Record and Move
2. Add a Gift – Add a gift to the Record.
3. Donate Now – Process a Credit Card contribution in Julep.
Note: Contact Customer Support to find out how to enable this feature if it is not already.
4. Add a Note – Add a note to the Record and Move
How to Use the List View of Moves Management
List view shows the People Records and their Moves laid out in lists per one of the five stages.
1. Toggle between the List and Dashboard view.
2. Click on the green buttons at the top to select which stages you want to display or click on the X in the blue boxes to remove them.
3. Click the plus sign button to add a new Move (See Part 2 for additional directions).
4. Click the funnel button to view the full Moves Search filter options available. These enable the user to filter through the current list based on a variety of factors.
5. Quick Search, located in the upper right side of the screen, allows you to quickly find a People Record in the cycle by Name or PID.
6. Click the gear button to edit the names and stages of the Moves stages.
7. Use the options on the bottom right to pull Call Sheets, Exports, or Mail Merge the respective list.

List View Action Options
The List View gives you access to a couple of action items for the Moves.

1. This group of buttons allows you to edit the Move and Donor Profile.
Edit Move – Open to edit
Donor Profile – Open the People Record
Delete – Delete the Move
2. This group of buttons include actions you can take for individual Moves.
Add a Task – Add a task to the Record and Move
Add a Gift – Add a gift to the Record
Donate Now – Process a Credit Card contribution in Julep. Contact Customer Support to find out how to enable this feature.
Add a Note – Add a note to the Record and Move
3. These drop-down options allow you to change the Stage, Plan and Result of each Move.