
Timesaver Tip: Email Scheduler
The Email Scheduler tool allows Julep users to set up a recurring date and time for select reports and searches to automatically run. You can use this feature to schedule both custom searches and default Julep reports that will be emailed directly to your inbox when run.
How to use Email Scheduler for Searches and Reports
There are two ways to use this new tool:
Saved Searches Scheduling: selecting the frequency that a custom search is run.
Julep Reports Scheduling: selecting the frequency that a default Julep report is run.
Saved Searches Scheduling
1. Start with either a saved search or create a new saved People Search or Money Search.
2. Click the green Saved Searches button.
3. Click on Add Scheduled Email under the search you want to set up.

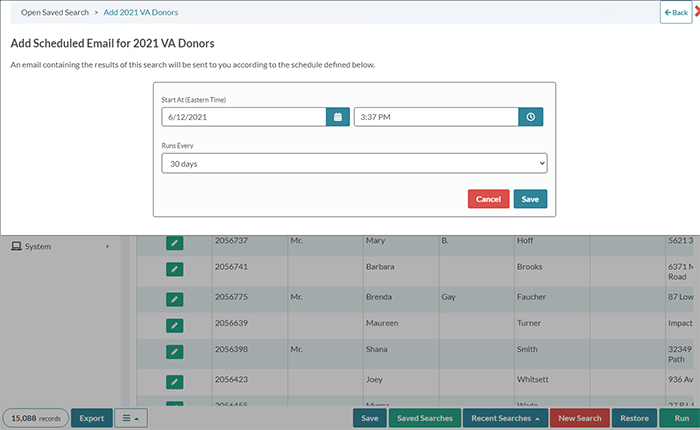
4. Options to select the frequency, time, and start date will appear. The frequency of the report can run daily, every two days, weekly, every two weeks, every 30 days, or a custom period.
Once your selections are made, click on the green Save button.
5. A confirmation message will appear.

Julep Reports Scheduling
1. To schedule a default report included with Julep, select the report you want to automatically run at recurring intervals by clicking on the green Run button.

2. The report will run and display results. At the bottom of the page, click on the Add Scheduled Email button.

3. Enter a name for the scheduled report and click the green Save button.

4. Select the start date, time, and frequency to run the report and click the green Save button.
5. A confirmation that the report was saved and scheduled will appear.

Manage Scheduled Emails
1. If you need to change a filter of a report, update the frequency, or delete the schedule, edit the Scheduled Emails by going to All Reports or searching for the report in the Quick Search bar.
2. Click on the Add Scheduled Email button.

3. Select the green Edit button or red Delete button on the report you want to update.
4. Make the necessary changes and click the green Save button.